Last time we went over creating a secured infrastructure and network for our SaaS operation.
When we set out to reboot Sealas we decided to refine our development process. We were offering end-to-end encryption for our users, but the the only way we could guarantee that, in our eyes, was by making the development process end-to-end verified.
Why we're signing our commits
In Git the author of a commit is determined simply by a setting in your local Git client. This can be changed at any time, to anything you want, like so:
git config --global user.email "therealgeorgy_w@gov.us"
git config --global user.name  "Really George Washington"
This makes an identity provided by Git pretty insecure and unreliable. So let's imagine someone pretends to be me and copies my writing style and posts a pull request for a "fix" as me. A co-worker could just think, "Eh, small fix, tests don't break, merged.", having thus introduced a possible vulnerability.
This is less of a problem when using a platform like GitHub, which doesn't care about your Git author settings, but only displays the account you work from on GitHub. Issues could arise for people not using GitHub or when you move away the repository to another host. The other issue is as always unforeseen security vulnerabilities in the platform itself.
To further ensure that we can trust that each maintainer is actually who we think they are, we can introduce PGP signed commits. However since the process of generating a key, and then having that key signed is long and complicated, it wouldn't make sense to require this for all people trying to contribute to the project. The user experience behind this could also just lead to people generating a key once for this commit and then throwing it away, just to get a then meaningless signed commit.
So we set up a policy that is a decent compromise between security and usability:
- pull requests from third party contributers can come from anyone and don't need to be signed.
- merges and commits to master need to be signed, and should be checked thoroughly
Introducing hardware keys
Our generated PGP keys need protection as well. Even though our general development environments setup include encrypted disks, we decided to go one step further and put our keys on a physical key:
Yubikeys were already an integral part of our two factor authentication process, which made them a natural fit to use as external storage devices. The advantage of using them comes twofold:
- They have built-in support for PGP keys
- They're small and portable, so you can have your PGP key with you on your travels hanging on your keychain (or if you're like Igor, around your neck)
Yubico, the company behind Yubikeys, has come a long way from bashing open source processes to responsibly disclosing and mitigating vulnerabilities and breaches. Let's hope they stay that way, so we can continue to trust them, or at least their devices to securely store our keys.
Creating and signing PGP keys
We followed the basic outline described in the official YubiKey NEO and OpenPGP how-to. Where we deviated, by dumb luck, we made our setup more secure: For instance, Daniel created his key on his laptop, rather than on the Yubikey itself. Which was good because now he doesn't have to regenerate it. (Igor's key is the Yubikey NEO, which wasn't affected)
Summary of the How-to
- Set the key into a multi-mode using a Yubikey manager
- Create a PGP (on the key)
- Export & publish the public key
- Verify and Sign each other's keys
This outline is really simple, and the descriptions are easy to follow, so it's no surprise that it took us no longer than 10 hours to get through with this.
Rather than retracing the How-to, I'd simply like to point out some
Caveats
A first false start was that GitLab and GitHub rely on the email for verification. So if you're going to create a key without (like daenney), you should at least create a sub-key that has an email address attached.
A couple of years ago, Debian's OpenSSL advisory meant that creating RSA keys on a Debian machine was a very bad idea. Now, with this Infineon issue it means that creating RSA keys on devices whose firmware uses Infineon's fast API calls will leave you vulnerable. So there's no clear guideline here, other than keeping up-to-date and agile when it comes to rotating keys!
Next, a word on modes.
As mentioned above, we use our Yubikeys for 2FA and storing PGP keys.
However, the Yubikey (NEO at least) can only be in one mode at a time.
That means, when switching between using the Yubikey as 2FA device and using it as PGP key, you will have to unplug the device, or kill GPG's scdaemon to "refresh" the mode.
I can also highly recommend verifying the enabled modes with a GUI program, since the hex numbers can be a bit confusing.
Finally, there's the issue of simply forgetting to plug the Yubikey key while writing a long-winded Git commit message. The result will be an error message like:
error: gpg failed to sign the data
fatal: failed to write commit object
Now, if we plug back in, we can restore the Git commit message by using the file where Git auto-saves commit messages itself!
git commit -eF .git/COMMIT_EDITMSG
Note that -e opens your favourite editor here.
This is especially useful if you want to cross-verify what you wrote, or make sure you're not adding commit-message onto commit-message onto commit message here!
Where next?
That's all folks. With this in place we can start pushing commits, and Github will now show your commits like so:
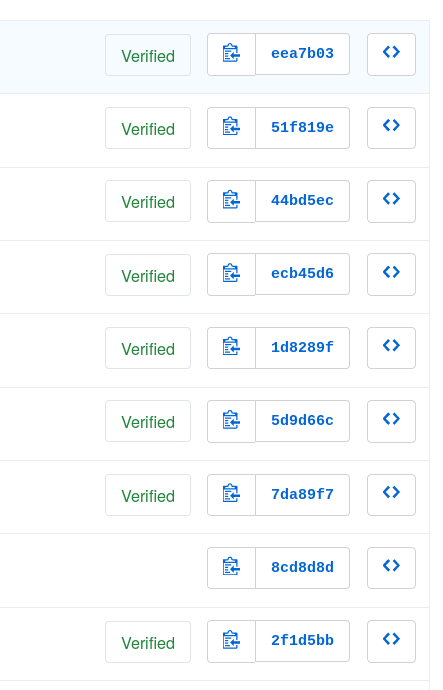
The last issue we need to solve is that little hole there. In this specific case, it's a merge-request — done by the GitHub Web UI itself, so fortunately that didn't have access to my PGP key. However, in the future, we'd like to ensure that
- all commits by core-contributors are signed
- Especially when they are merging pull requests from outside contributors
Until then, stay tuned!